In similarity to most DIY projects, an epoxy floor installation is underpinned by the quality of its preparation. In this situation, it means ensuring that the base, which is usually concrete, is cleaned to perfection, any cracks or damaged patches are repaired and that any other contaminants – such as previous flooring, chemicals or deposits – are removed.
Get this right and you ensure that the building blocks of success are firmly in place, leading to an easy application of your chosen epoxy floor and its many advantages.
The 1 – 2 – 3 of Floor Preparation
How to prepare the floor for an epoxy installation will vary depending on its condition. Cleaning is only one element – it might also be necessary to repair any cracks or damage as well. There are handy epoxy resin kits available for this that contain everything necessary to complete the task. Such kits are suitable for both small and large areas of damage and are designed to ensure the correct composition for an epoxy coating to be applied over the top.
Once any damage is repaired, the cleaning process can begin in earnest. When carrying out a DIY installation this is usually done with an acid wash. Doing so requires no specialist equipment or skills and is by far the best prep for a concrete floor. The other methods are shot blasting and diamond grinding – both of which require industrial equipment and familiarity in using the machines.
Carrying out floor prep using an acid wash is easy to do. First, gather your equipment and materials.
- Appropriate cleaning solutions, including a de-greaser. Epoxy Resin Kits designed for the task are readily available to purchase.
- A stiff broom or floor scrubber
- An acid wash. 23% hydrochloric acid is ideal – easily sourced from an epoxy flooring specialist. Some people do use pool acid for this stage, which can be an effective alternative.
Floor Prep Process
Once you’ve got the necessary kit, it’s time to carry out the floor prep process:
- Clean the floor: Start with a pressure wash at around 3,000 psi. Use de-greaser where necessary. Even if the floor appears to be clean, it’s recommended to also use a specialist cleaning solution.
- Acid wash the floor: Apply the acid solution to the complete floor area. Use the broom/floor scrubber to work it into the concrete. Leave for 10 minutes. This will remove any stubborn contaminants and slightly penetrate the surface, so allowing for better adhesion of the epoxy flooring.
- Remove the acid solution: This is carried out by more power washing and should be done before the acid begins to dry. Once spotlessly clean, dry the surface and vacuum to remove the last traces of dust.
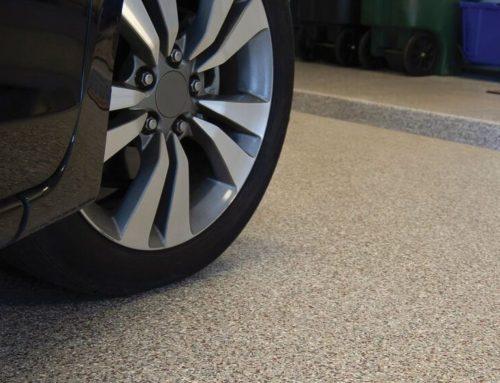
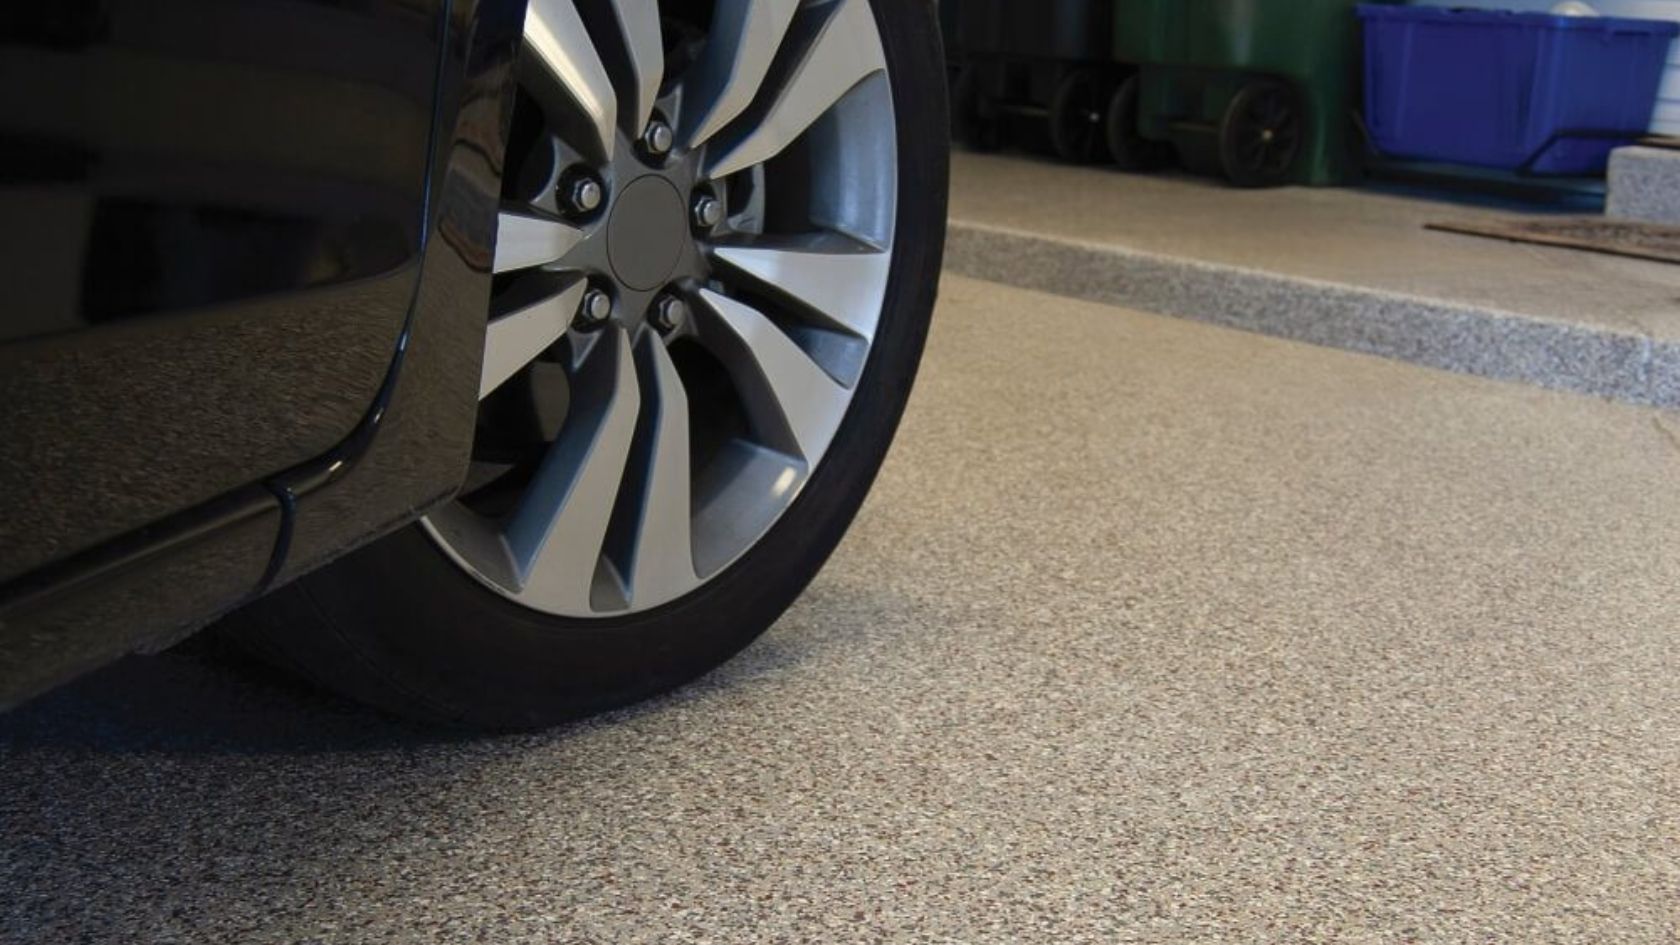
The floor is now clean and, once it’s completely dry, is ready for the flooring application. This is also a step-by-step process that’s easily carried out using one of the various epoxy resin kits available from specialist providers such as Shimicoat.


")


